Wednesday, May 6, 2015

National Scrapbooking Month Blog Hop

Welcome to our Taste of Summer Blog Hop!  In honor of National Scrapbooking Month, Close to My Heart has released the Taste of Summer stamp set and paper pack that are only available during the month of May.  This blog hop features artwork created using one or both of these items.  

If you have come here from Pam Trostle's Blog, you are on the right path! The blog hop is a great big circle, so you can start here and work your way all around.  If you get lost along the way, you’ll find the complete list of participating consultants on Melinda’s Blog.
This month we have nearly 40 Close To My Heart Consultants sharing their creations using the Taste of Summer products on their blogs. The hop is simple to do - just click on the link at the end of the post on each blog to move to the next one! Here we go!

With two school-aged children, we needed several gifts this week for Teacher Appreciation.  We headed to our local Bath & Body Works to pick out some fruity scented soaps and candles to express gratitude for all the teachers' hard work and dedication this year.  Using this gift bag tutorial from Trinity Design Studio, and the Taste of Summer paper and stamps, I made gift bags and tags to go with the gifts for our teachers (scroll down for a tutorial on what I did)!
As you can see, this particular gift consisted of a sunshine & green daisy candle, lily & lime soap and a gift card.  These went perfectly with the lime/daisy paper!  Topiary chevron ribbon was used to tie off the bag and attach the tag, while green epoxy bubbles were used to accent the tag!
A closer look at the tag allows you to see the actual stamping.  For the lemon, the stamp was first inked in Canary ink, then I rolled the edge in Honey ink to make it a bit darker. The "You're" is actually from the "You're Berry Special" stamp, but only the first word was inked.  Purple glitter gems and Thistle ribbon were used to accent this tag.
We purchased a few smaller gifts for some of the other teachers my children see throughout the week.  This Strawberry shower gel was topped off with an adorable strawberry tag!  The strawberries were first inked in Cotton Candy, then rolled in Cranberry.  The stems were stamped using Topiary ink. The strawberries were cut out by hand (it didn't take too long) and popped up on 3-D Foam tape (the bigger one uses CTMH's thin foam tape and the smaller berry uses the regular foam tape - this allowed for them to be layered even more!).  Clear sparkles and Pixie Pink twine finished off this tag.
For the randomly stamped oranges on the background of this tag, the stamp was first inked in Goldrush, then the edges were rolled in Sunset ink.  A piece of Goldrush cardstock was stamped with the black flourish, then the top and bottom tips were accented with bitty sparkles.  The coordinating shape was cut using the CTMH Artists cartridge and popped up on 3-D Foam tape.
I am so pleased with how all of these gifts turned out!!!!  These would make fantastic hostess gifts as well.  Here is a tutorial on how to create the bag.
1.  Score your 12" x 12" paper at 2" and 9"
2. Rotate paper 90 degrees and score at 3" and 9"; repeat steps one and two for a second sheet of paper.

3. For one paper, cut out the 3"x3" squares in the two corners.
4. For the second paper, just slit along one of the 3" score lines.
5.  Fold along all score lines.
6. For added stability, add a 2 7/8" x 5 7/8" piece of scrap cardstock to the bottom section of one paper (color doesn't matter as this will be covered up).
7. Adhere the bottom  3"x6" rectangle from the second sheet.
8.  Carefully fold the two sides towards up and insert top folds into each other.
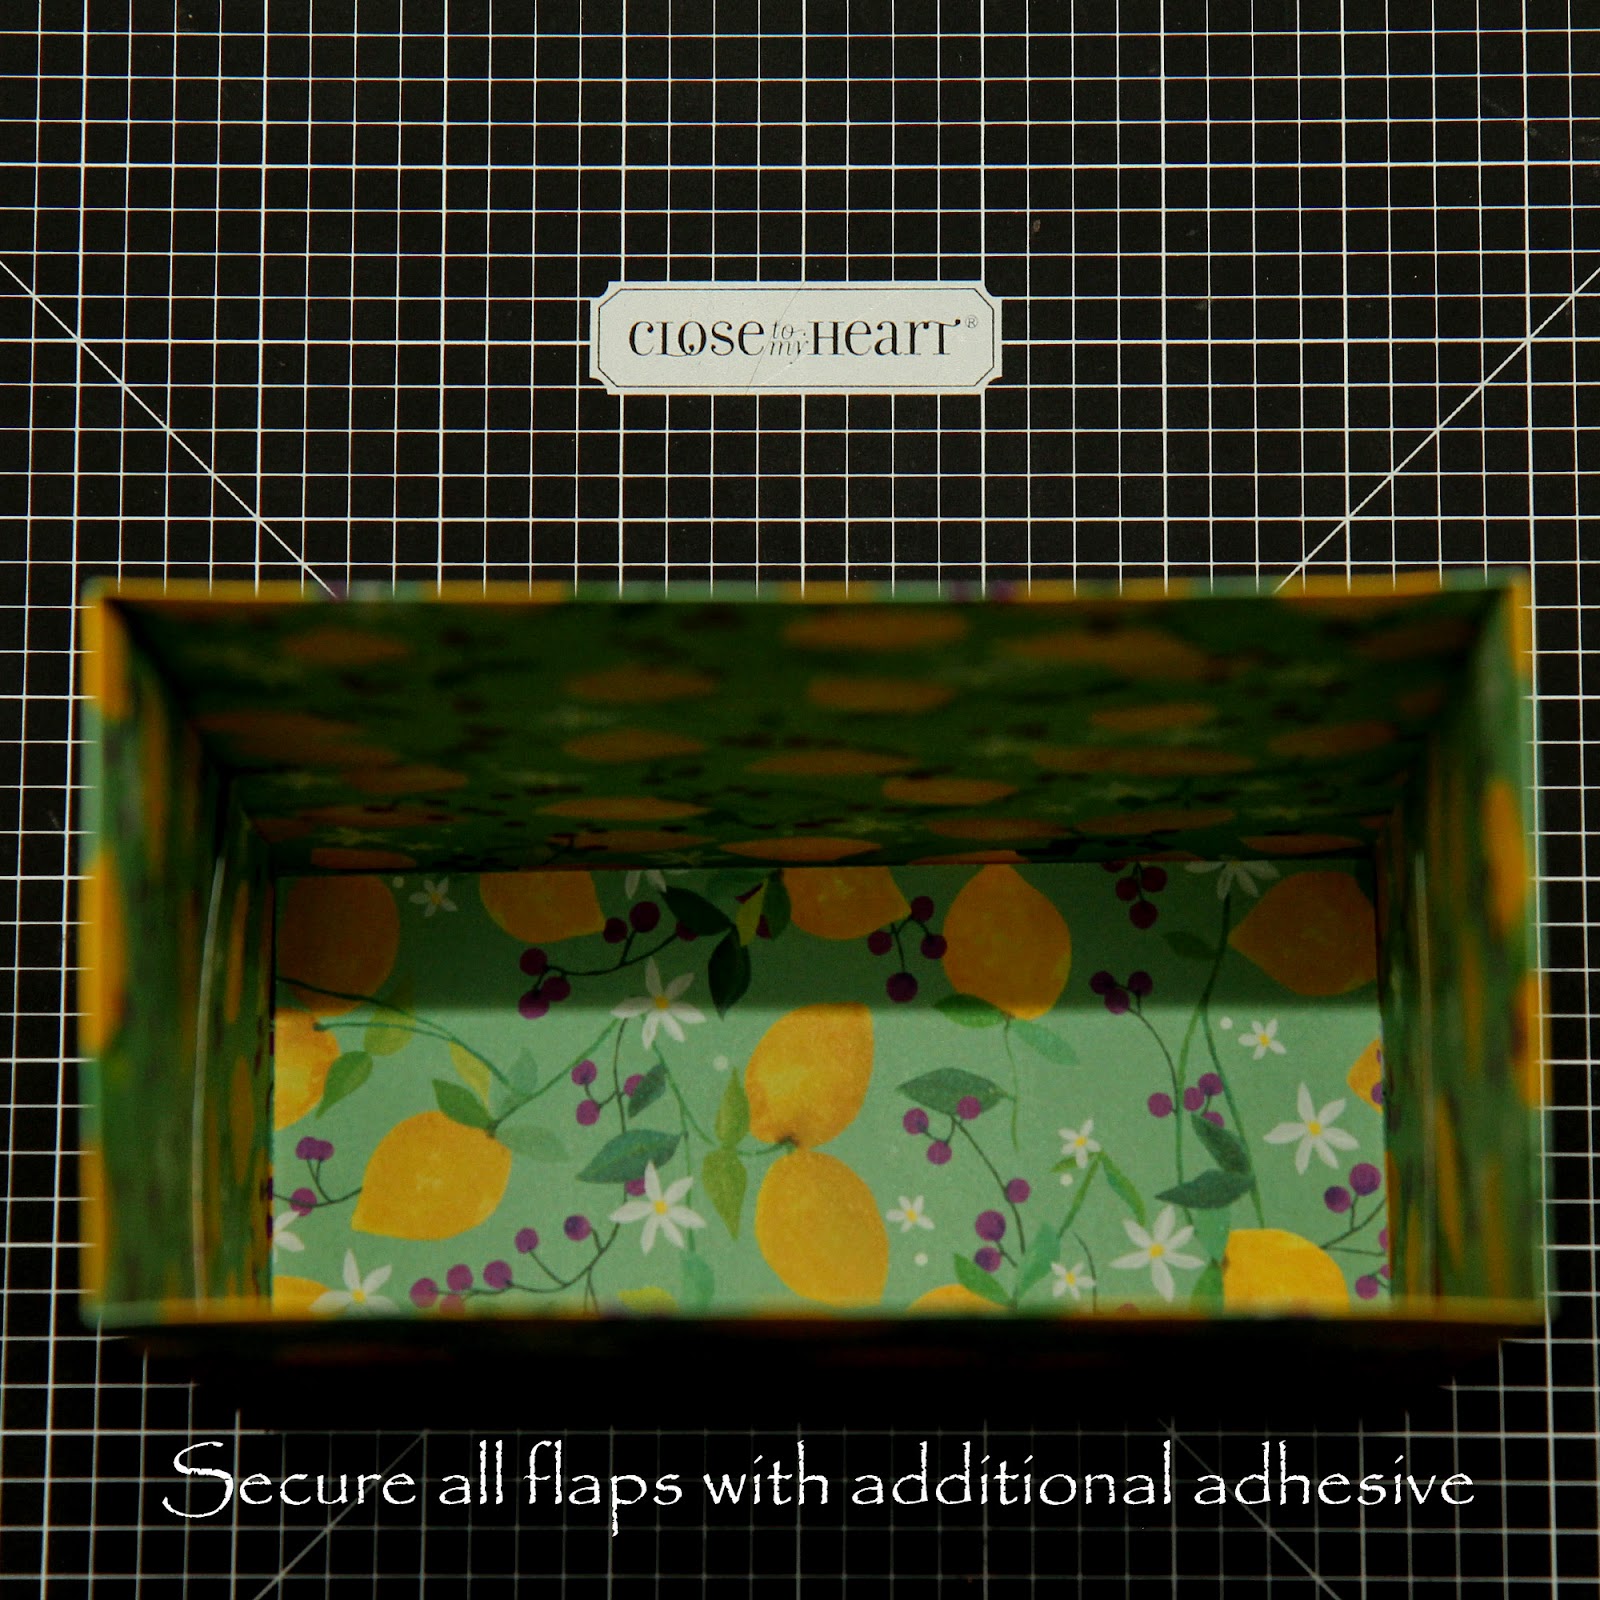
9. Glue down flaps for added stability (I also add a little glue to the corners of the outside flaps).
10. Before punching holes for the ribbon handles, I slid another piece of cardstock (1 1/2" x 5 1/2") under each top flap - just to give the handles some added stability.  Please message me if you have any questions regarding the tutorial!


While these projects showcase several of the stamps included in the Taste of Summer set, not all were used.  Here is a look at the entire stamp set.
Thanks for stopping by!  I hope you enjoyed my Taste of Summer creations.  Here is a list of Close To My Heart Products used to create these page:
CC1039 - Taste of Summer Stamp Set
CC1038 - Taste of Summer Paper Packet

Z1990 - Thistle Diagonal Striped Ribbon
Z1929 - Topiary Mini Chevron Ribbon
Z3035 - Pixie Extra Thick Twine
Z1936 - Purple Glitter Gems
Z1263 - Bitty Sparkles
Z1752 - Clear Sparkles
Z2060 - Thin 3-D Foam Tape
Z1151 - 3-D Foam Tape
Z679 - Liquid Glass
Z1806 - Green & Blue Epoxy Bubbles
Z1790 - Cricut Artist Collection
Z1686 - Cricut Art Philosophy Collection
CTMH Exclusive Inks stamp pads in Goldrush, Sunset, Archival Black, Sweet Leaf, Topiary, Canary and Honey
CTMH Cardstock in Sunset, Gold Rush, Honey, Topiary, Cranberry and White Daisy
Retired CTMH Sunset Baker's Twine
Now "Hop" on over to Peachy Lamb's Blog to see her work! Be sure to visit all the Consultants at their Blogs to get some great crafting ideas and other fun ideas! Remember, this stamp set and paper packet are only available through May 31st! You can order yours here!

Tuesday, May 5, 2015

Blossom Cardmaking Workshop

Join me this month as we make a set of 3 cards using the Blossom Paper Line!  These cards incorporate bright, cheerful colors and fun embellishments to help wish a Happy Birthday to your friend or loved one.

The workshop will be held on Thursday, May 21st.  There will be two time slots available: 10:00 AM or 7:30 PM.  All materials will be pre-cut and ready to assemble.  Light refreshments will be provided. 

Space is limited, so purchase your kit today for only $5 to reserve your spot!  The RSVP and payment deadline is Friday, May 15th.  Please select the time slot that best fits your schedule!


Time Slot

Monday, April 6, 2015

Seasonal Expressions 2 Blog Hop


Welcome to our Seasonal Expressions 2 Blog Hop!  We will be featuring items from the brand new Seasonal Expressions 2 Catalog from Close to My Heart.  If you have come here from Michelle Jones's Blog, you are on the right path! The blog hop is a great big circle, so you can start here and work your way all around.  If you get lost along the way, you’ll find the complete list of participating consultants on Melinda’s Blog.

This month we have over 40 Close To My Heart Consultants sharing their creations using brand new Seasonal Expressions 2 products on their blogs. The hop is simple to do - just click on the link at the end of the post on each blog to move to the next one! Here we go!


When I saw the Team Player stamp set in the new Seasonal Expressions catalog, I knew I had to have it!  My son loves playing sports, so this set is a great addition to my collection.  There are 8 stamps in the set, and all coordinate with shapes cut from the CTMH Artbooking cricut cartridge.


This past fall, my son played on his first soccer team.  He loved every minute of it!  Four of the eight stamps in the Team Player set were used to embellish my soccer layout.
In the top left corner, the "All-Star Player" was stamped in Pacifica ink on a white daisy circle and popped up on Thin 3-D Foam tape.  The top right corner was embellished with the "100% Awesome" stamped in Honey ink.  A second ticket corner shaped piece was cut a tad larger in Pacifica to act as a mat. Both corners were embellished with cricut stars cut from the honey paper fundamentals, white enamel stars, and blue epoxy dots.
The "Authentic Athlete" stamp is such a fun option!  You can use it to frame a pictures, as I did here, or insert a shape or journaling. The score embellishment was also cut from the Artbooking cartridge. 
"Go Team" was stamped twice, once in Pacifica and once in Slate.  The Pacifica one was hand trimmed to show just the "Team" portion, and was mounted on top of the Slate stamped shape using Thin 3-D Foam Tape.  The Pacifica paper fundamentals cardstock was used across the bottom of both pages. 
The title and soccer ball were both cut from the CTMH Artbooking cricut cartridge.  Soccer was cut twice, once in Pacifica and once in White Daisy.  They were layered to provide a shadow effect, then popped up on Thin 3-D Foam Tape.  The arrow stamp from the One-Way Borders stamp set was stamped in slate underneath the soccer title.
Thanks for stopping by!  I hope you enjoyed my Sports Themed Layout.  Here is a list of Close To My Heart Products used to create these page:
D1652 - Team Player Stamp Set
Z1906 - Cricut Artbooking Collection
C1561 - One-Way Borders Stamp Set
Z2060 - Thin 3-D Foam Tape
Z2032 - Paper Fundamentals, Adventure Assortment
Z2010 - White Enamel Stars
Z1806 - Green & Blue Epoxy Bubbles
CTMH Exclusive Inks stamp pads in Slate, Pacifica and Honey
CTMH Cardstock in Slate, Pacifica, Honey, Black and White Daisy

Now "Hop" on over to Kelly Jane's Blog to see her work! Be sure to visit all the Consultants at their Blogs to get some great crafting ideas and other fun ideas! Remember, all of these new products can be found in the new Seasonal Expressions 2 catalog! You can check out the new catalog here!

Saturday, March 28, 2015

Everything ABC's Blog Hop - Letter G

Welcome to the Everything ABC's Blog Hop!

For this hop we will be featuring the letter "G". This may be the name of a paper, a stamp set or an embellishment. Whatever the crafter has chosen as their "G" element will be featured in their post.  If you came from Darlys Recker at Crafty Happy, then you're on the right track!

I used to not be much of a sparkle/glitter person.  However, in the last year or so, I've realized that almost every project I make has some sparkle or glitter on it!  My first thought for the letter "G"was Glitter!  Close to My Heart has several options when it comes to adding Glitter to projects.  From Glitter Paper (6 different color packs - 18 choices total), shimmer trim (10 different colors), and Glitter Gems to the myriad of other sparkly bling, the options were almost endless! 
CTMH's glitter paper was the focus of my projects.  It is very thick, but still cuts nicely with my cricut using a normal blade (though I do use the highest pressure setting).  The "Celebrate" was cut from Green Glitter paper using the Artbooking cartridge.  The "Thank You" was cut from Gold Glitter Paper using the Artiste cartridge.

Both cuts were mounted on White Daisy cardstock, trimmed with shimmer trim (in Gold and Blue, respectively), matted with black cardstock and mounted on the black and white chevron paper found in the Paper Fundamentals Basics Pack  I can't wait to send these sparkly cards out to someone special!!!!

Thanks for stopping by!  I hope you enjoyed my "G" creation.  Here is a list of Close to my Heart supplies used for these card:
Z1939 - Paper Fundamentals - Basics Assortment
Z1847 - Glitter Paper - Green
Z1830 - Glitter Paper - Brown & Tan
Z1985 - Shimmer Trim - Gold
Z3025 - Simmer Trim - Blue
Z1906 - Cricut Artbooking Collection
Z1790 - Cricut Artiste Collection
CTMH Cardstock in White Daisy and Black

All items can be purchased through my CTMH website.

Your next stop on our Everything ABC's blog hop is Pam Trostle at Pam's Crafty Creations.  In case you get lost along the way…go to Scrappy Therapy for a complete list of participants  

Wednesday, March 25, 2015

Hopscotch Paper - Going, Going, Almost Gone!

Bad news first - the Seasonal Expressions ONE book is retiring on March 31st!  Many items will still be available to order, but anything with a little clock picture next to it means it will no longer be available after next Tuesday.  But, the good news - Seasonal Expressions TWO goes live on April 1st!!!  It is full of amazing new papers, stamps and embellishments!!!!

The item I will miss the most is the Hopscotch line.  The color combination is so bright and cheerful, and the designs are just plain FUN!  At last Friday's evening crop, several attendees created a card using Hopscotch paper.  The original design was a Birthday card featuring Hopscotch B & T Paper, Flaxen Twine, Smoothie Washi Tape and the Birthday stamp from the "You Mean the World to Me" stamp set. 
I always encourage crafters to use my card as a guide, but to make their project fit their style.  I love seeing all the different versions that are created!  My example is the bottom right card.  Whether they changed the layout, the sentiment, the paper, or even the orientation - they all turned out fantastic!
While showing the card, I was joking that I created a landscape card because my 8 year old daughter always gave me a hard time for creating portrait cards. Can you guess which card she created?  The portrait layout version!!!!  She certainly likes being different - and I LOVE it!

The "You Mean the World to Me" stamp set is one of my favorites!  It's right on point with the arrows, and includes such versatile sentiments!!!!  Check out the options you have with this set:
Thanks for stopping by to check out my latest creation! Here is a list of Close to My Heart products used:
B1467 - You Mean the World to Me Stamp Set
Z1923 - Smoothie Striped Washi Tape
Z3036 - Flaxen Extra Thick Twine
X7194B - Hopscotch Paper Packet
Z1151 - 3-D Foam Tape
X1410 - Colonial White Card Value Pack
Black Exclusive Ink Pad
CTMH Cardstock in Glacier, White Daisy and Smoothie
All materials can be purchased by visiting my website.

Sunday, March 8, 2015

Lucky Banner

Each Monday, Close To My Heart puts out a creative challenge. The challenge for this week was to use an image in the Annual Inspirations guide as inspiration for your own project.  I selected the fall themed banner shown on p. 46.
I stayed true to the original design, but changed the theme to fit the current season.  With St. Patrick's Day a week away, I knew a "Lucky" Banner would be a perfect addition to my mantel.  
I have had a sewing machine for about 2 years, but have only used it a handful of times....and never on paper. Every time I see a project that has been sewn, I tell myself I am going to try that one day.  "One Day" finally happened!

The circles were cut from various shades of green cardstock, green glitter paper and the Topiary Paper Fundamentals cardstock, then sewn together.  The flags for the banner were cut from Kraft cardstock.  Once the letters were adhered, various stitching patterns were used to add a little texture and dimension.
 
 
I am thrilled with how the banner turned out.  There are imperfections in the stitching, but it gives it character!  I can't wait to incorporate this technique on more projects! 

Thanks for stopping by to check out my latest creation!  Here is a list of CTMH products used:
Z2032 - Paper Fundamentals, Adventure Assortment
Z1921 - Baker's Twine Neutral Metallic Assortment
Z1375 - Kraft Cardstock
Z1847 - Green Glitter Paper
Z3017 - Cricut Artfully Sent Collection
Z1790 - Cricut Artiste Collection
CTMH Cardstock in Topiary, Pear, New England Ivy and Sweet Leaf
All of these items can be purchased here.

Tuesday, March 3, 2015

Birthday Album Cover Page

This past weekend, I attended a semi-annual weekend crop getaway in Staunton, Virginia.  It is always an amazing weekend full of fun, friends and scrapbooking!

This trip, I focused on my son's Birthday album.  He just turned 5, but I hadn't even started on his album!  My plan is to have all of his Birthdays, from 1-18, to be in one album.

The cover page was designed to show how Cole has grown and changed over the years.  I placed my favorite 2"x 2" picture from his first 4 birthdays across the top.  I cut 14-2"x 2" squares from Pear cardstock to be placeholders for the remainder of his birthdays.  The squares are just attached with temporary adhesive so they can easily be removed when another birthday has been reached.  
The lower corner piece will stay permanently and was embellished with the Make a Wish stamp and white enamel stars.
To carry over the star theme, cricut shapes were layered in the upper corner.  With a little help from 3D Foam tape, this became a fun, dimensional embellishment.
The background paper, from the Confetti Wishes pack, fits perfectly with this theme of "Birthdays through the years."  I hand trimmed another paper from the same pack to get the celebrate and candle border for the title box. 
Thank you for stopping by!  I hope you are inspired to create a Birthday album for someone you love!

Here is a list of Close To My Heart Supplies Used:
M1051 - Wish Stamp (only $2.95!!!!)
X7189B - Confetti Wishes Paper Pack
Z2010 - White Enamel Stars
Z1151 - 3D Foam Tape
Z2192 - Pacifica Ink Pad
Z1790 - Cricut Artiste Collection
CTMH Cardstock - Daisy White, Pear, Lagoon, Honey, Pacifica

All materials can be purchased from my website.