
Welcome to
our Taste of Summer Blog Hop! In honor of National Scrapbooking Month, Close to My Heart has released the Taste of Summer stamp set and paper pack that are only available during the month of May. This blog hop features artwork created using one or both of these items.
If you have
come here from Pam Trostle's Blog, you are on the right path! The blog
hop is a great big circle, so you can start here and work your way all
around. If you get lost along the way,
you’ll find the complete list of participating consultants on Melinda’s Blog.

This month
we have nearly 40 Close To My Heart Consultants
sharing their creations using the Taste of Summer products
on their blogs. The hop is simple to do - just click on the link at the end of the
post on each blog to move to the next one! Here we go!
With two school-aged children, we needed several gifts this week for Teacher Appreciation. We headed to our local Bath & Body Works to pick out some fruity scented soaps and candles to express gratitude for all the teachers' hard work and dedication this year. Using this gift bag tutorial from Trinity Design Studio, and the Taste of Summer paper and stamps, I made gift bags and tags to go with the gifts for our teachers (scroll down for a tutorial on what I did)!


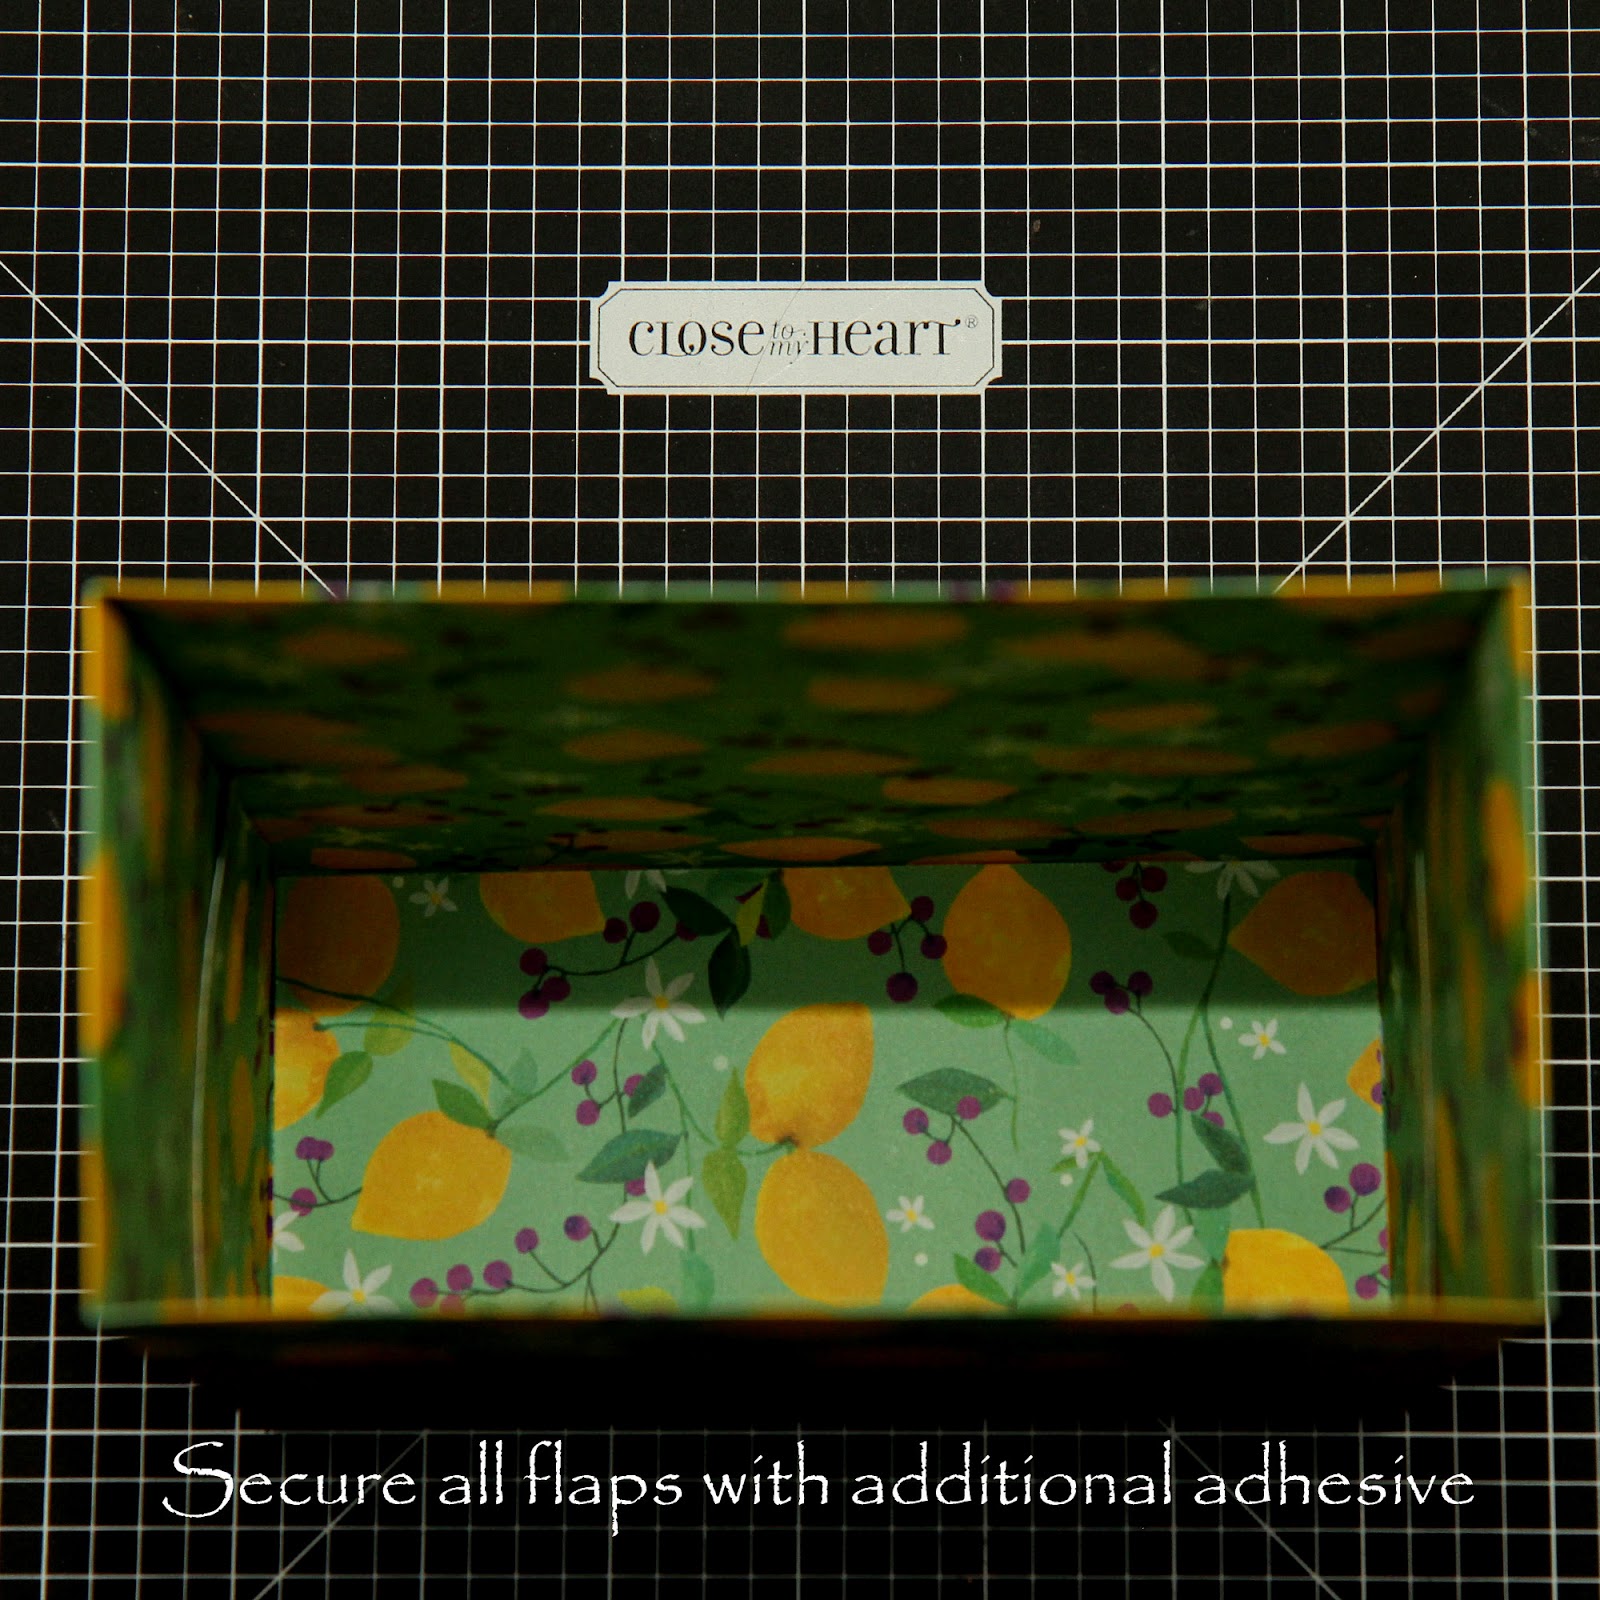
1. Score your 12" x 12" paper at 2" and 9"


3. For one paper, cut out the 3"x3" squares in the two corners.


While these projects showcase several of the stamps included in the Taste of Summer set, not all were used. Here is a look at the entire stamp set.

CC1039 - Taste of Summer Stamp Set
CC1038 - Taste of Summer Paper Packet
Z1990 - Thistle Diagonal Striped Ribbon
Z1929 - Topiary Mini Chevron Ribbon
Z3035 - Pixie Extra Thick Twine
Z1936 - Purple Glitter Gems
Z1263 - Bitty Sparkles
Z1752 - Clear Sparkles
Z2060 - Thin 3-D Foam Tape
Z1151 - 3-D Foam Tape
Z2060 - Thin 3-D Foam Tape
Z1151 - 3-D Foam Tape
Z679 - Liquid Glass
Z1806 - Green & Blue Epoxy Bubbles
Z1806 - Green & Blue Epoxy Bubbles
Z1790 - Cricut Artist Collection
Z1686 - Cricut Art Philosophy Collection
CTMH Exclusive Inks stamp pads in Goldrush, Sunset, Archival Black, Sweet Leaf, Topiary, Canary and Honey
CTMH Cardstock in Sunset, Gold Rush, Honey, Topiary, Cranberry and White Daisy
CTMH Exclusive Inks stamp pads in Goldrush, Sunset, Archival Black, Sweet Leaf, Topiary, Canary and Honey
CTMH Cardstock in Sunset, Gold Rush, Honey, Topiary, Cranberry and White Daisy
Retired CTMH Sunset Baker's Twine
Now
"Hop" on over to Peachy Lamb's Blog to see her work! Be sure to visit
all the Consultants at their Blogs to get some great crafting ideas and other
fun ideas! Remember, this stamp set and paper packet are only available through May 31st! You can order yours here!
Your teachers appreciation gifts are too cute!! Great tutorial also!
ReplyDeleteAdorable - lucky teachers!
ReplyDeleteHow darning!!!!!!
ReplyDeleteThanks for the instructions, these are adorable!
ReplyDeleteLove the bags and tags, great job. Thanks for sharing.
ReplyDeleteLove the bags and tags...lucky teachers!
ReplyDeletegreat projects!!
ReplyDeleteLove all the ideas...that tags & the bag are adorable! Thanks for the wonderful instructions on how you created the bag! :)
ReplyDeleteSo so cute and I am soooo trying this gift bag today! Thank you for the directions!
ReplyDeleteLisa, These are ABSOLUTELY adorable!! Beautiful work!!
ReplyDeleteOh my gosh! These bags are so cute! Your directions were much easier to understand than the ones in the link. And the TAGS! Super cute too!
ReplyDeleteBeautiful..what a great gift!!
ReplyDeleteAwesome. I will have to make these bags
ReplyDeleteYou will have some very pleased teachers. These are fantastic gifts. Thanks for sharing the tutorial.
ReplyDeleteWow wow wow! You have completely inspired me, great work!
ReplyDelete