In celebration of Teacher Appreciation last week, each day was supposed to be a different theme to "spoil" the teachers. One day, the kids were supposed to bring in school supplies. My daughter picked out several things that the class was running low on, and we packaged them up with this adorable tag.
The "World's Greatest Teacher" was heat embossed using the Gold embossing powder. This is one of my favorite techniques - it is so magical to watch!! After stamping the "writing lines," my daughter wrote her teacher's name in the space.
The full Teacher Appreciation set can be seen here.
Close To My Heart Supplies used for this layout:
D1612 - Teacher Appreciation Stamp Set
Z1929 - Topiary Mini Chevron Ribbon
Z2010 - White Enamel Stars
Z2066 - Ranger Princess Gold Embossing Powder
Z1790 - Cricut Artiste Collection
Z891 - Versamark Ink Pad
CTMH Exclusive Inks in Black, Cranberry and Topiary
CTMH Cardstock in White Daisy, Topiary, Cranberry
Above items can be purchased through my CTMH website.
Showing posts with label Cricut. Show all posts
Wednesday, May 13, 2015
Wednesday, May 6, 2015
National Scrapbooking Month Blog Hop
Welcome to
our Taste of Summer Blog Hop! In honor of National Scrapbooking Month, Close to My Heart has released the Taste of Summer stamp set and paper pack that are only available during the month of May. This blog hop features artwork created using one or both of these items.
If you have
come here from Pam Trostle's Blog, you are on the right path! The blog
hop is a great big circle, so you can start here and work your way all
around. If you get lost along the way,
you’ll find the complete list of participating consultants on Melinda’s Blog.
This month
we have nearly 40 Close To My Heart Consultants
sharing their creations using the Taste of Summer products
on their blogs. The hop is simple to do - just click on the link at the end of the
post on each blog to move to the next one! Here we go!
With two school-aged children, we needed several gifts this week for Teacher Appreciation. We headed to our local Bath & Body Works to pick out some fruity scented soaps and candles to express gratitude for all the teachers' hard work and dedication this year. Using this gift bag tutorial from Trinity Design Studio, and the Taste of Summer paper and stamps, I made gift bags and tags to go with the gifts for our teachers (scroll down for a tutorial on what I did)!
As you can see, this particular gift consisted of a sunshine & green daisy candle, lily & lime soap and a gift card. These went perfectly with the lime/daisy paper! Topiary chevron ribbon was used to tie off the bag and attach the tag, while green epoxy bubbles were used to accent the tag!A closer look at the tag allows you to see the actual stamping. For the lemon, the stamp was first inked in Canary ink, then I rolled the edge in Honey ink to make it a bit darker. The "You're" is actually from the "You're Berry Special" stamp, but only the first word was inked. Purple glitter gems and Thistle ribbon were used to accent this tag.
We purchased a few smaller gifts for some of the other teachers my children see throughout the week. This Strawberry shower gel was topped off with an adorable strawberry tag! The strawberries were first inked in Cotton Candy, then rolled in Cranberry. The stems were stamped using Topiary ink. The strawberries were cut out by hand (it didn't take too long) and popped up on 3-D Foam tape (the bigger one uses CTMH's thin foam tape and the smaller berry uses the regular foam tape - this allowed for them to be layered even more!). Clear sparkles and Pixie Pink twine finished off this tag.
For the randomly stamped oranges on the background of this tag, the stamp was first inked in Goldrush, then the edges were rolled in Sunset ink. A piece of Goldrush cardstock was stamped with the black flourish, then the top and bottom tips were accented with bitty sparkles. The coordinating shape was cut using the CTMH Artists cartridge and popped up on 3-D Foam tape.
1. Score your 12" x 12" paper at 2" and 9"
2. Rotate paper 90 degrees and score at 3" and 9"; repeat steps one and two for a second sheet of paper.
3. For one paper, cut out the 3"x3" squares in the two corners.
4. For the second paper, just slit along one of the 3" score lines.
5. Fold along all score lines.
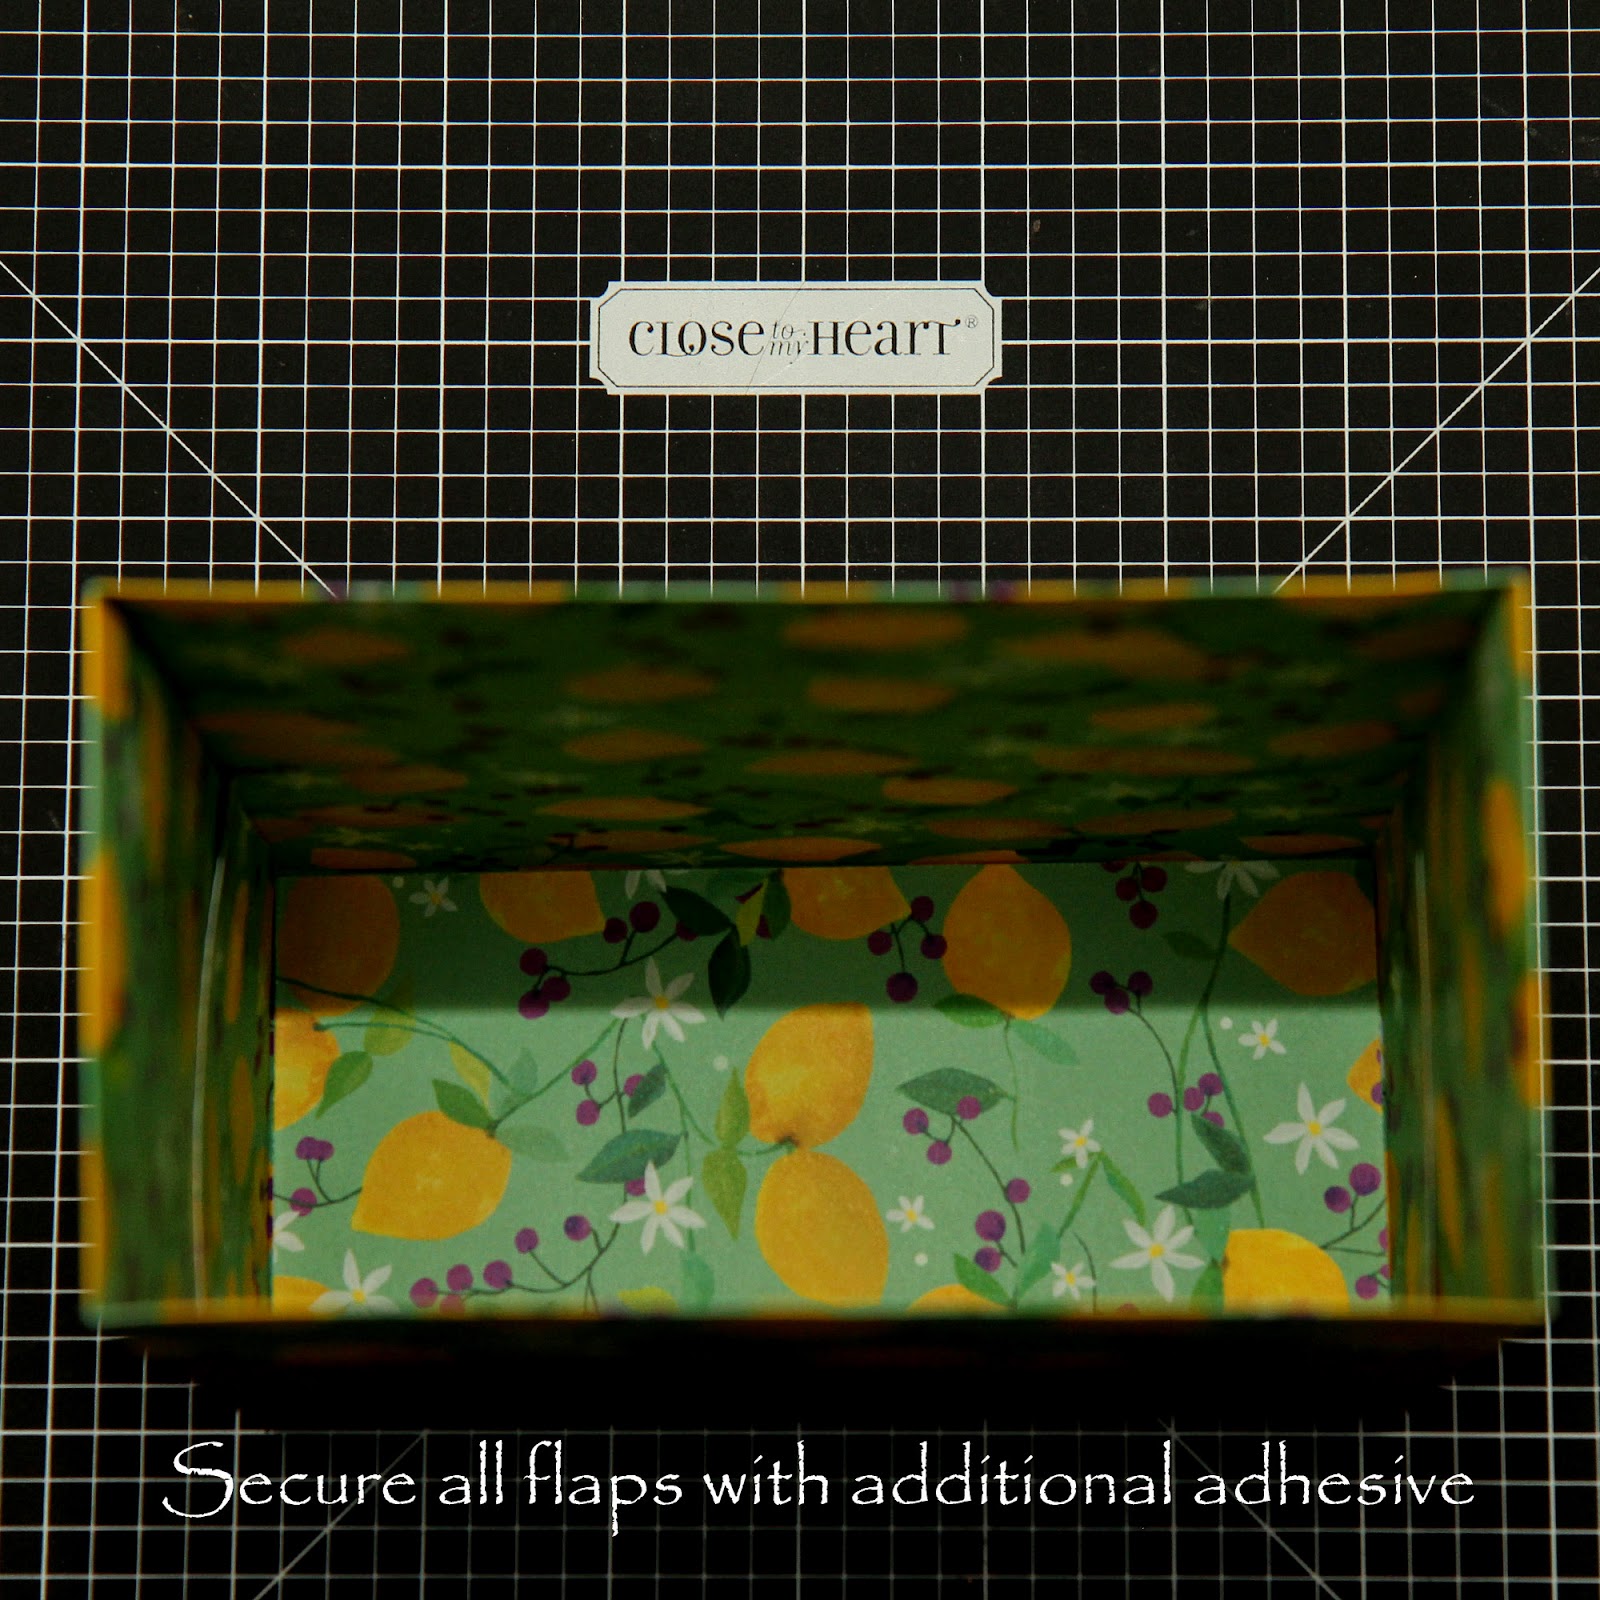
6. For added stability, add a 2 7/8" x 5 7/8" piece of scrap cardstock to the bottom section of one paper (color doesn't matter as this will be covered up).
7. Adhere the bottom 3"x6" rectangle from the second sheet.
8. Carefully fold the two sides towards up and insert top folds into each other.
9. Glue down flaps for added stability (I also add a little glue to the corners of the outside flaps).
10. Before punching holes for the ribbon handles, I slid another piece of cardstock (1 1/2" x 5 1/2") under each top flap - just to give the handles some added stability. Please message me if you have any questions regarding the tutorial!
While these projects showcase several of the stamps included in the Taste of Summer set, not all were used. Here is a look at the entire stamp set.
Thanks for stopping by! I hope you enjoyed my Taste of Summer creations. Here is a list of Close To My Heart Products used to create these page:
CC1039 - Taste of Summer Stamp Set
CC1038 - Taste of Summer Paper Packet
Z1990 - Thistle Diagonal Striped Ribbon
Z1929 - Topiary Mini Chevron Ribbon
Z3035 - Pixie Extra Thick Twine
Z1936 - Purple Glitter Gems
Z1263 - Bitty Sparkles
Z1752 - Clear Sparkles
Z2060 - Thin 3-D Foam Tape
Z1151 - 3-D Foam Tape
Z2060 - Thin 3-D Foam Tape
Z1151 - 3-D Foam Tape
Z679 - Liquid Glass
Z1806 - Green & Blue Epoxy Bubbles
Z1790 - Cricut Artist Collection
Z1686 - Cricut Art Philosophy Collection
CTMH Exclusive Inks stamp pads in Goldrush, Sunset, Archival Black, Sweet Leaf, Topiary, Canary and Honey
CTMH Cardstock in Sunset, Gold Rush, Honey, Topiary, Cranberry and White Daisy
CTMH Exclusive Inks stamp pads in Goldrush, Sunset, Archival Black, Sweet Leaf, Topiary, Canary and Honey
CTMH Cardstock in Sunset, Gold Rush, Honey, Topiary, Cranberry and White Daisy
Retired CTMH Sunset Baker's Twine
Now
"Hop" on over to Peachy Lamb's Blog to see her work! Be sure to visit
all the Consultants at their Blogs to get some great crafting ideas and other
fun ideas! Remember, this stamp set and paper packet are only available through May 31st! You can order yours here!
Thursday, March 13, 2014
Product Spotlight: 5" x 7" Hinged Display Tray
Last November, I was able to capture an adorable picture of my two kids, my niece and nephew stacked in a pile of oldest to youngest. They also posed in a picture with their Great-Aunt. She doesn't have any children of her own, so my children and their cousins are very close to her.
For her birthday, I wanted to create a special keepsake for her including these two pictures. I immediately thought of Close to My Heart's 5" x 7" Hinged Photo Display. There are 7 opening for either pictures or décor elements. I chose to include the two pictures from November as well as one of my two kids and one of my niece and nephew. All pictures were secured into the display tray using Liquid Glass.
In the bottom left opening, I wanted to include a sentiment from the Family Love stamp set. I used the Smokey Plum ink to stamp the sentiment onto Champagne cardstock. The background paper as well as the Ivy Lane Purple strip are from the Ivy Lane Paper Packet. To add a little sparkle to the sentiment, I placed an itty bitty sparkle onto the circle in the center of the stamp. The sentiment is popped up using 3D foam tape for extra dimension.In the upper right opening, I used Smokey Plum ink to stamp the word "Aunt" with the Vogue Alphabet set. The shape is cut from the CTMH Cricut Artiste Cartridge out of Champagne cardstock. It is also popped up using the 3D foam tape. The background paper is from the Ivy Lane Paper Packet, and I added a little strip of Hollyhock cardstock to add contrast. I flanked the edges of the Hollyhock paper with a row of itty bitty sparkles.
For the remaining section, I really wanted to include a paper rose. I have seen lots of people make these, but was very intimidated to try my own! I found a video tutorial by another CTMH Consultant, Cathy Derouche, that gave me great ideas and the confidence I needed to get started. I didn't have all the tools that she uses in her video, but was able to adapt other tools I own to get the job done. I used the CTMH Artiste Cricut Cartridge to cut the main portion of the rose. As recommended in the video, I cut two flat flower shapes from the CTMH Art Philosophy Cricut cartridge to add a few extra petals to the outside. I love how the rose turned out!
The background paper and the two little strips are all from the Ivy Lane Paper Packet. I added a small sparkle from the clear assortment to the center of the rose, then added a clear sparkle flourish coming out of the bottom right of the rose.
I'd love to help you create your own Hinged Display! I can also put together a kit for purchase if you are interested in creating the display as shown. Contact me for more information.
Close To My Heart products used:
Z1838 5" x 7" Hinged Display Tray
E1026 Vogue Alphabet Stamp Set
D1506 Family Love Stamp Set
X7178B Ivy Lane Paper Packet
Z1812 Sparkles Clear Flourishes - Small
Z1752 Sparkles Clear Assortment
Z1263 Bitty Sparkles
Z2147 Smokey Plum Exclusive Inks Stamp Pad
1514 Tombow Mono Adhesive
Z1151 3-D Foam Tape
Z679 Liquid Glass
Z1790 Cricut Artiste Collection
Z1686 Cricut Art Philosophy Collection
CTMH Cardstock in Champagne and Hollyhock
All items listed above are available for purchase via my website.
Saturday, February 22, 2014
ABC Blog Hop - Letter "D" for Door Hanger
Welcome to the Everything ABC's Blog Hop!
For this hop we are featuring the letter D. This may be the name of a paper, a stamp set or an embellishment. Whatever the crafter has chosen as their "D" element will be featured in their post.
If you have just hopped onto my blog, please start at the beginning at Linda's blog ~ Scrappy Therapy.
If you came from Jenny Gilbert at Jen's Creative Classroom then you're on the right track!
"D" is for Doorknob Hanger! For Valentine's Day, I made these cute little doorknob hangers to hold a couple goodies for my kids. They enjoyed waking up to a special treat hanging on their door.
I started by cutting out the doorknob hanger shape from page 25 of the CTMH Art Philosophy Cricut cartridge. I used a 12x12 piece of Cotton Candy Cardstock, so I selected the fit to page option on my Cricut. This allows the image to cut as large as possible within your paper size.
The cricut cuts little slits (score lines) into the image so you know where to fold. Once folded up, I secured the flaps with my Tombow adhesive.
Once all sides were secured, the hangers were ready to be decorated! Just to give you an idea of size, the hanger is 3 3/8" wide by 7 5/8" tall. The opening is just over 3/4" deep and is just over 3" tall.
I decorated the back part of the doorknob hanger by stamping hearts randomly (both hearts are included in February's Stamp of the Month - only available until the end of February!!!). I used ink to match the cardstock to give it the tone on tone look. I also cut an extra heart out using Cricut just to enhance the strength of the doorknob cutout (after all, I am planning to stuff these with Valentine's goodies).
The lower part was decorated by placing a piece of silver shimmer trim (this is essentially glitter tape - self-adhesive!) around the top of the opening. I cut out a shape from my CTMH Art Philosophy Cricut Cartridge (p. 47) in contrasting color (pink for the red hanger, and red for the pink color) to serve as a backdrop for the fox image (also from the Stamp of the Month Set). The foxes and hearts were stamped on White Daisy cardstock and matted using Slate cardstock. The entire image was adhered using 3-D foam tape onto the front of the hanger. I also used my blending pen to color in the flower on the girl fox, and the nose on the boy fox (using the cotton candy ink pad).
Here is the completed project - ready to be stuffed and hung on my children's doors. While I decorated mine with a Valentine's theme, this image can be cut on any color paper and can therefore be made to fit any theme you can imagine!
I also created a little mini card to go into each doorknob hanger. The card is the heart cutout card image from p. 26 of the CTMH Art Philosophy Cartridge (cut at 2 3/4"). I outlined the cutout with a Ruby heart cut from the same page. The middle heart is popped up on 3-D foam tape so that it actually comes through the opening.
Close To My Heart Supplies Used for Doorknob Hangers:
S1402 - February Stamp of the Month: Wild About Love
Z1799 - Sliver Shimmer Trim
3174 - Blending Pen
Z2173 - Slate Exclusive Ink Pad
Z2193 - Cotton Candy Exclusive Ink Pad
Z2170 - Ruby Exclusive Ink Pad
Z1151 - 3-D Foam Tape
1514 - Tombow Adhesive
Z1686 - Cricut Art Philosophy Collection
CTMH Cardstock in Ruby, Cotton Candy, Slate and White Daisy
Additional CTMH supplies used for Mini Cards:
B1416 - Keyboard Uppercase Stamp Set
Z1911 - Stamp Set from Designed Décor Frame Kit (for arrow)
Z2105 - Black Exclusive Inks Stamp Pad
Retired Washi Wonders Hostess Stamp Set
All items can be purchased by visiting my CTMH website!
Thank you for stopping by to check out my "D" project. Your next stop on our Everything ABC'S blog Hop is Cary Magnani at My Heart's Design.
Here is the complete lineup in case you get lost along the way :)
1. Linda Norman- Scrappy Therapy
2. Lauren Moore- CTMH Craftings
3. Michelle Battitori - Michelle's Handmade World
4. Catherine Nowak ~ Catscrapbooking
5. Jenny Gilbert - Jen's Creative Classroom
6. Lisa Plummer - Flaunt Your Creativity
7. Cary Magnani - My Heart's Design
8. Shalana Glass - Scrappin with Shalana
9. Pam Trostle - Pam's Crafty Creations
10. Michele Pryor - Michele's Ink It Stamp It
11. Sharon Chapman - PaperFiesta
12 Anita Autore Cards and Coffee
Saturday, February 1, 2014
A Day of Firsts!
Today is a day of very exciting firsts. February 1st marks the release of the new Close To My Heart Spring/Summer Catalog! This is my FIRST catalog release since I began this new venture of working as a CTMH representative. I have had the privilege of previewing the catalog for the past month, and am overflowing with ideas of how to use all the new products! I can't wait to share them all with you! Contact me to receive your new catalog or you can view it on my CTMH site!
While it's very hard to pick just one, my favorite scrapbooking line is Skylark. It's a mix of yummy blues, greens, yellows and tans that can go either feminine or masculine depending on your embellishments and design. I always love products that can be used to scrapbook my son or my daughter!
CTMH supplies used:
I'm also very excited about the new embossing folders. There are 5 different designs - though my favorite is the Quatrefoil folder shown below. This is a great way to add texture and dimension to pages and cards. With CTMH's white core cardstock, a little sandpaper on the raised surface adds even more uniqueness!
My other FIRST on February 1st is that I'm hosting my first large scrapbooking crop. I am on the board of the Discovery Junction Children's Museum. We are a non-profit organizatio that is working to bring a much needed children's museum to Prince William County, Virginia. The proceeds for this crop have been donated to the museum to help make our dream a reality! I'm very excited for this day of fun! To welcome each attendee to their crafting nook for the day, I created these little place cards.
The base is Lagoon cardstock and the Colonial White piece was cut using CTMH's Art Philosophy Cricut Cartridge. The flair is from the Swirls Around stamp set and was stamped in Slate ink. I stamped the names using the A Typeface stamp set and Gypsy ink. This stamp set is great for two reasons (other than it is super cute) - 1) it is only $6.95 and you get 43 stamps and 2) there are multiples of the more frequently used letters. With all of these name cards, I never once ran out of letters! I was able to stamp each name by spelling the entire name out on the acrylic block and stamping at once (as opposed to having to stamp individual letters). Granted, if I ever have to stamp my niece's name, I will run into a problem since it has 4 E's!
This adorable butterfly was also cut from CTMH's Art Philosophy Cricut cartridge. I scored her down the middle so that I could easily fold her wings up for a 3-D effect, then used a glue dot to adhere her to the card. I added a few clear Bitty Sparkles down the middle to give her a little extra pop. I love how these turned out and hope the attendees enjoy them too!
CTMH supplies used:
- Cardstock - Lagoon, Gypsy and Colonial White
- Inks - Gypsy and Slate
- CTMH's Art Philosophy Cricut Cartridge
- Bitty Sparkles
- Glue Dots
- Tombow Adhesive
- A Typeface My Acrylix Stamp Set
- Swirls Around My Acrylix Stamp Set
Wednesday, January 29, 2014
Easy 3-D Effects
Ever wanted to turn a flat Cricut® shape into a 3–D element but didn’t know how? Watch this video from CTMH to learn how easy it is to create beautiful 3–D embellishments from flat Cricut®–cut shapes. From banners to embellishments on a scrapbook page to anything in between, we’ll show you how! It’s as easy as 1, 2, 3–D!
This is such a simple technique, but brings major impact! The heart garland is adorable, and I LOVE the idea of using the filmstrip Cricut® shape to make a mini photo book. I have so many new ideas floating around in my head now.....time to go CREATE!
Subscribe to:
Posts (Atom)